RevProHub Planning Phase Workflows
 by Shemsedin Amme
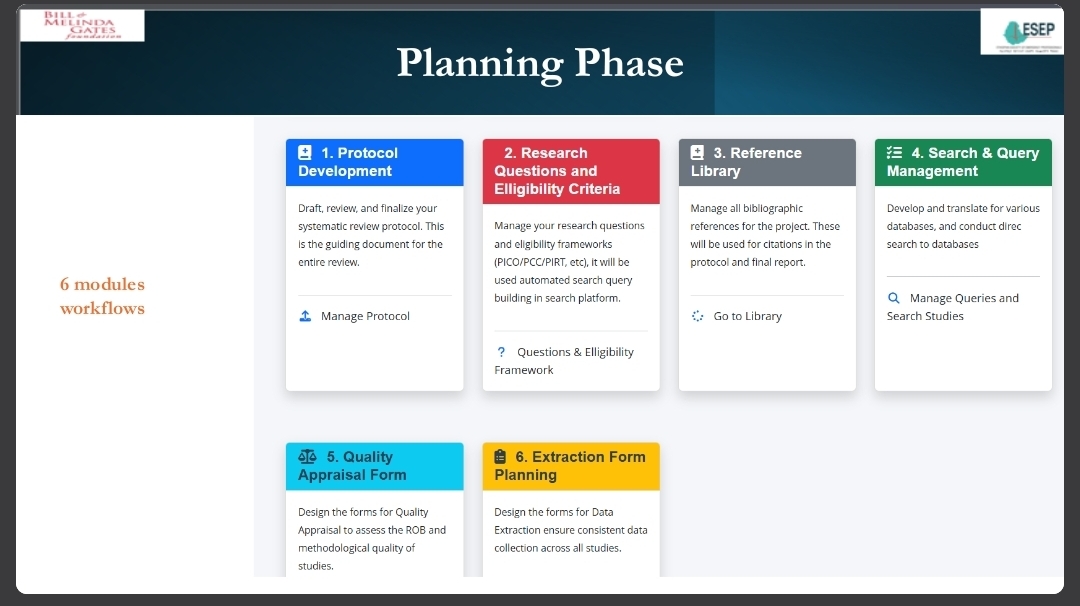
3. Planning Phase in RevProHub
📌 Overview: Planning Phase Workflow
The Planning Phase is where you define the methodological blueprint of your systematic review. It ensures that every decision is pre‑specified, from search strategy to synthesis. Access the Planning dashboard via: Project Dashboard → Planning Phase.
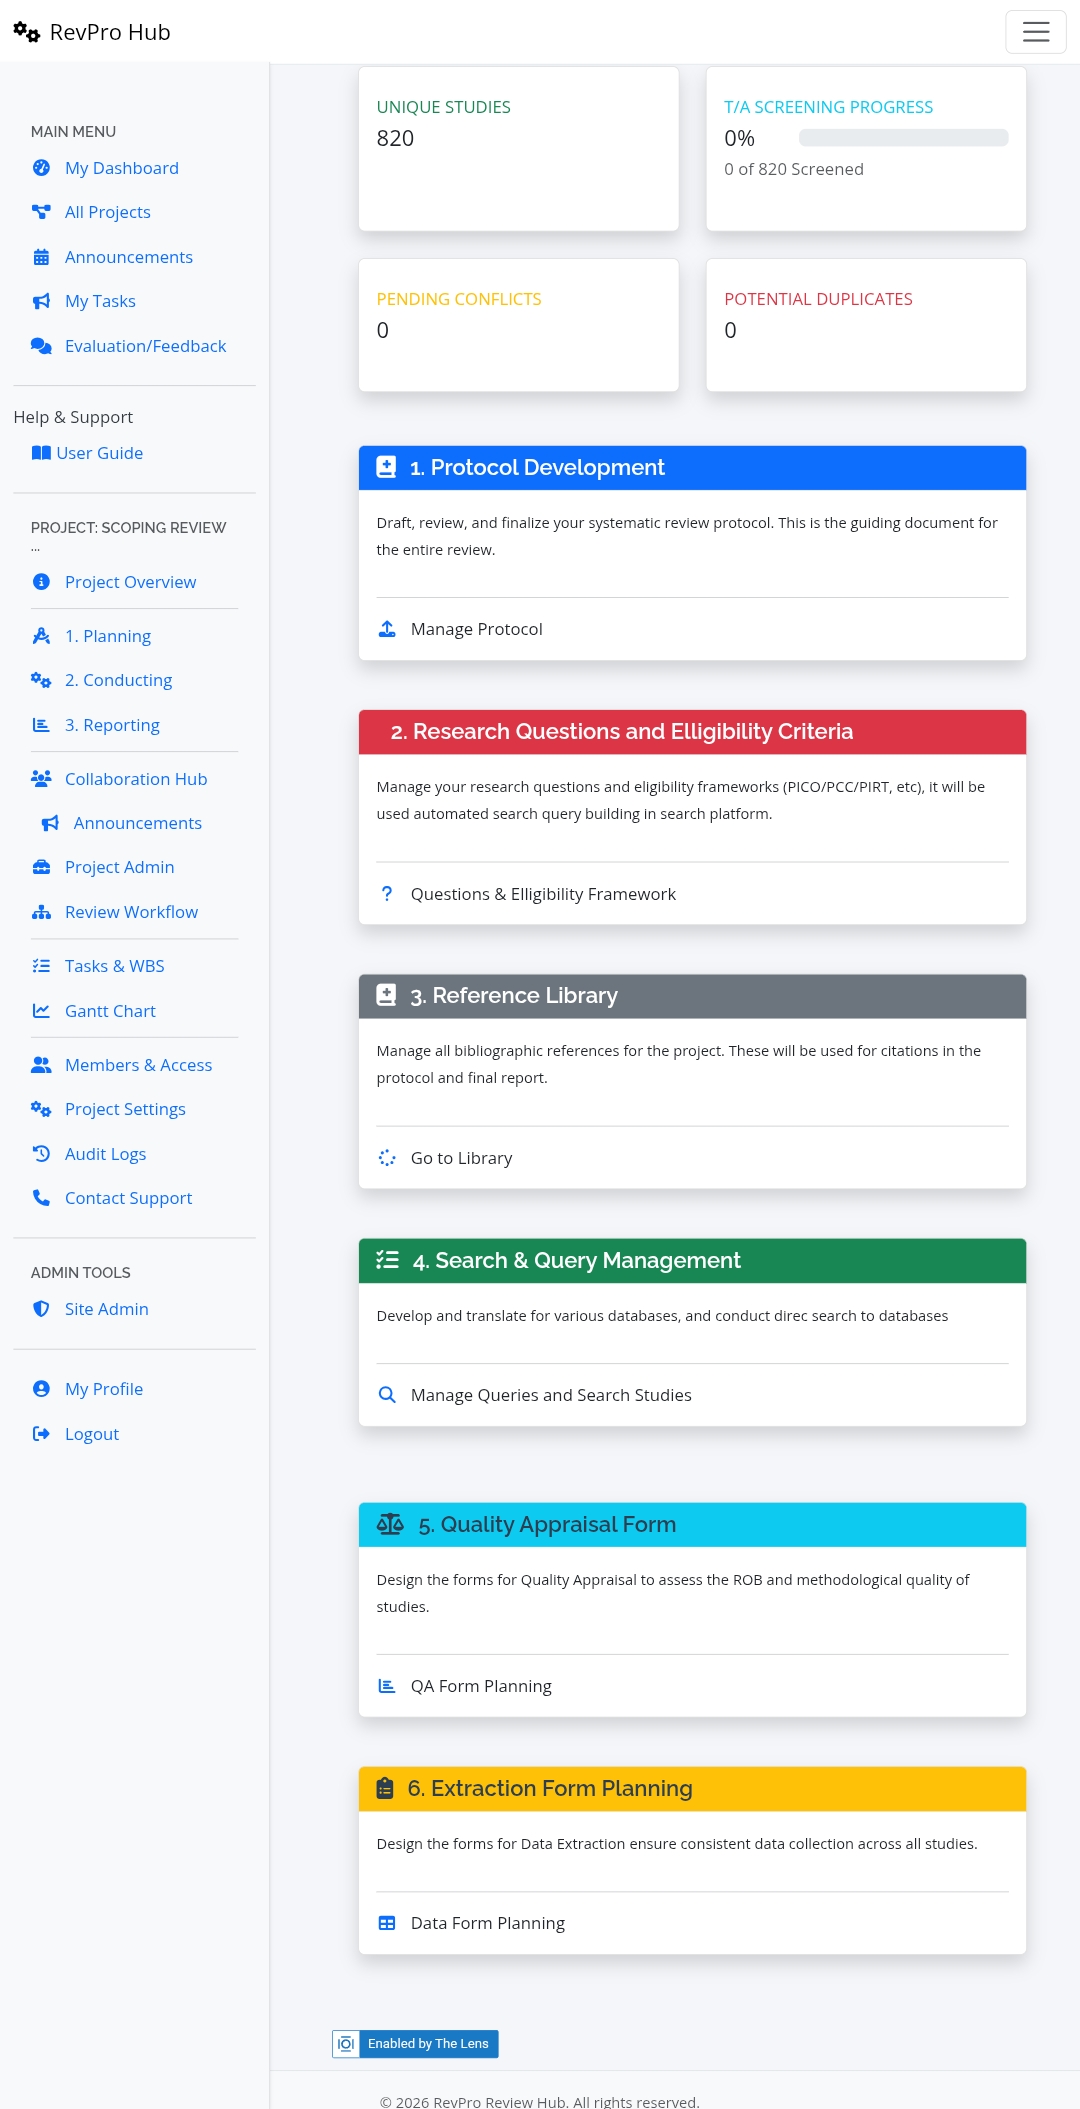
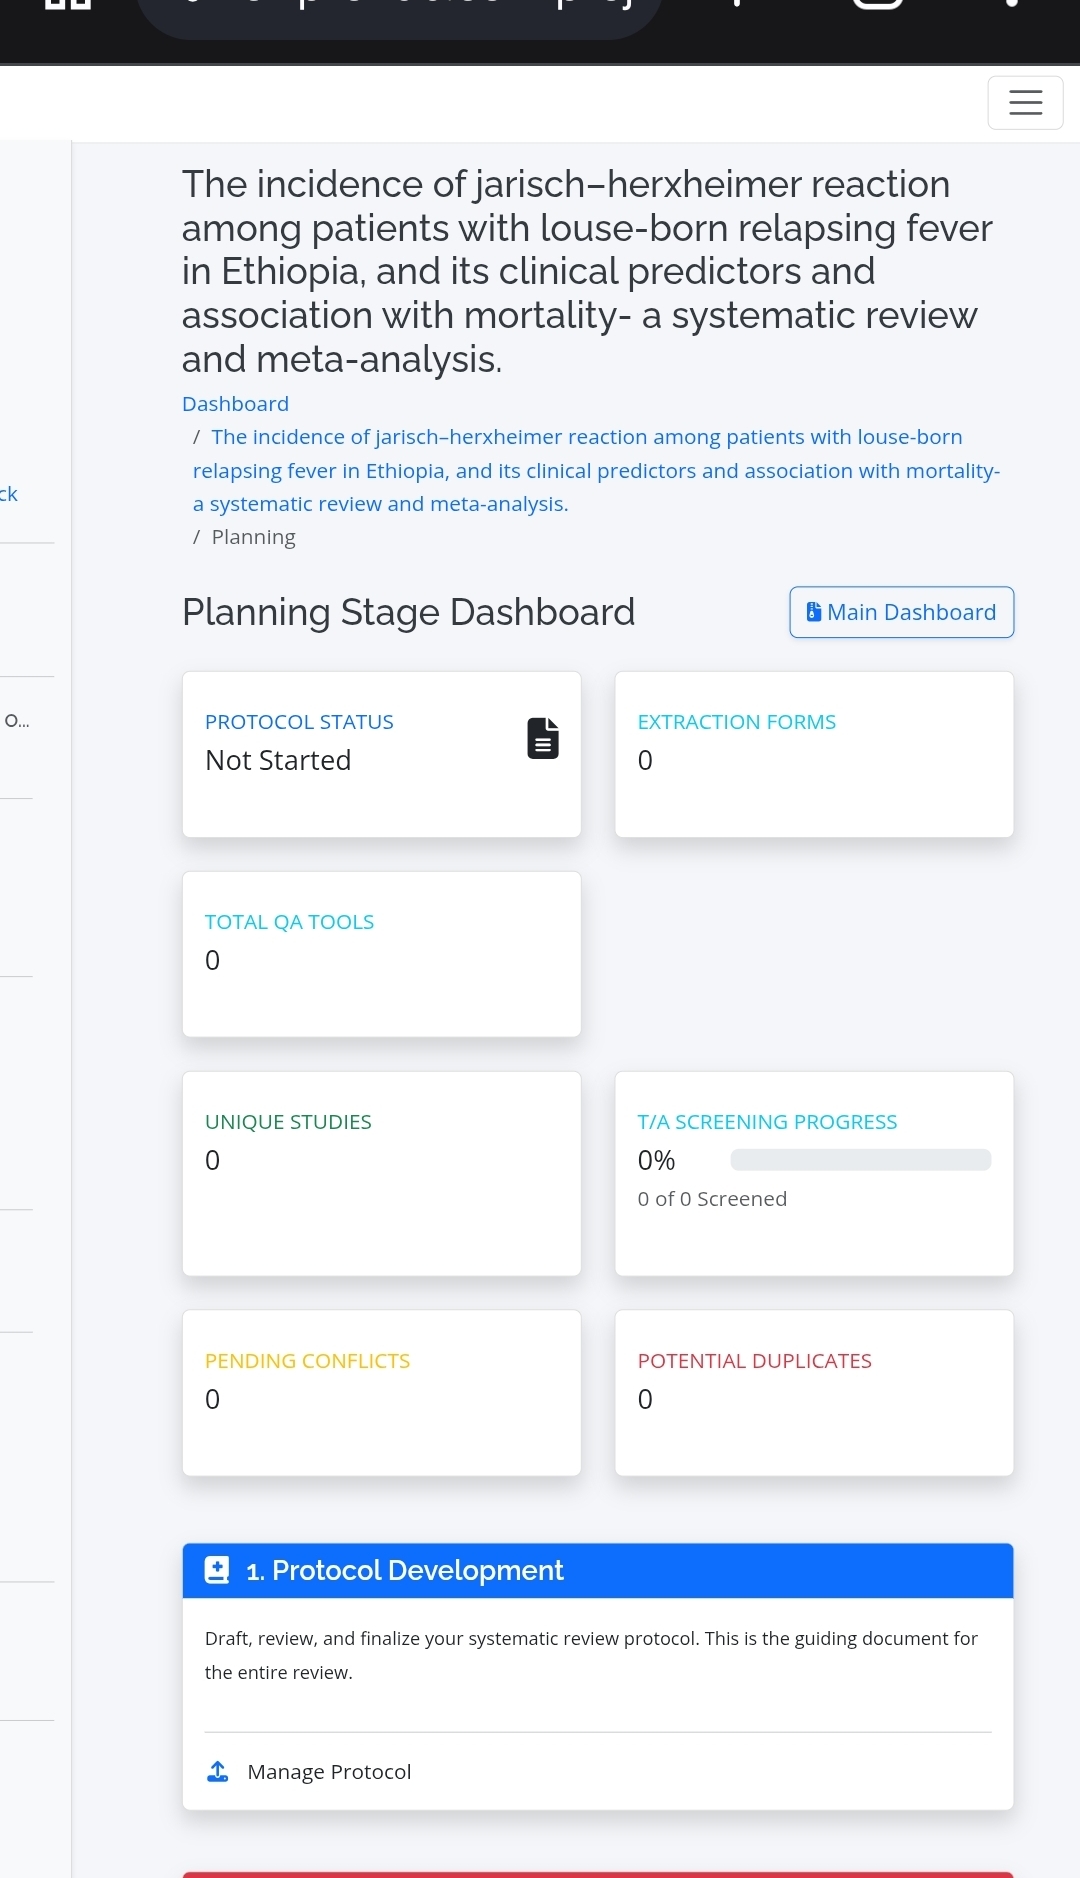
Components of Planning Stage Dashboard
3.1 Protocol Management
Navigate to Planning → Protocol Dashboard. Here you create, edit, version, and export your review protocol (PRISMA‑P aligned).
Create New Protocol
Protocol Editor & Key Actions
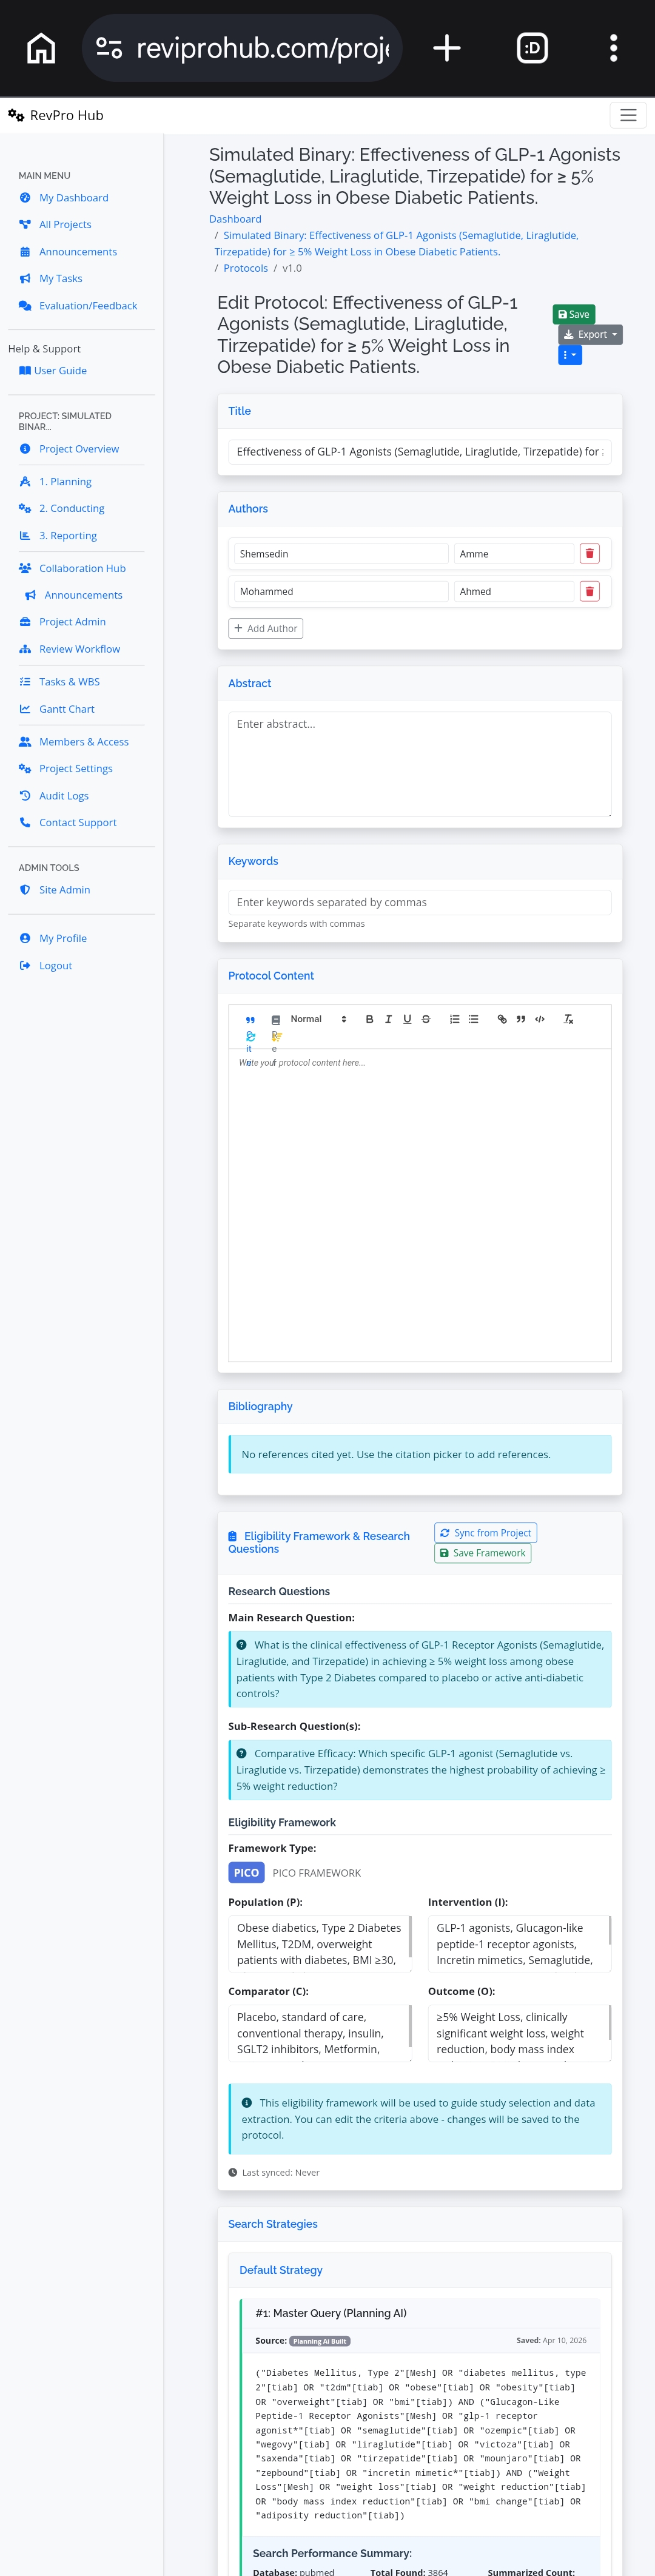
In the editor you will see: Last saved status, action buttons, citation manager sidebar, and auto‑injected content.
- Auto‑injected sections: Eligibility Framework & Research Questions (once defined) appear automatically.
- Citation management: Right sidebar shows “Available References” → select references & click “Insert selected” to cite studies already imported into the project.
- Auto‑save every 30 seconds + manual Save all.
View & Version Control
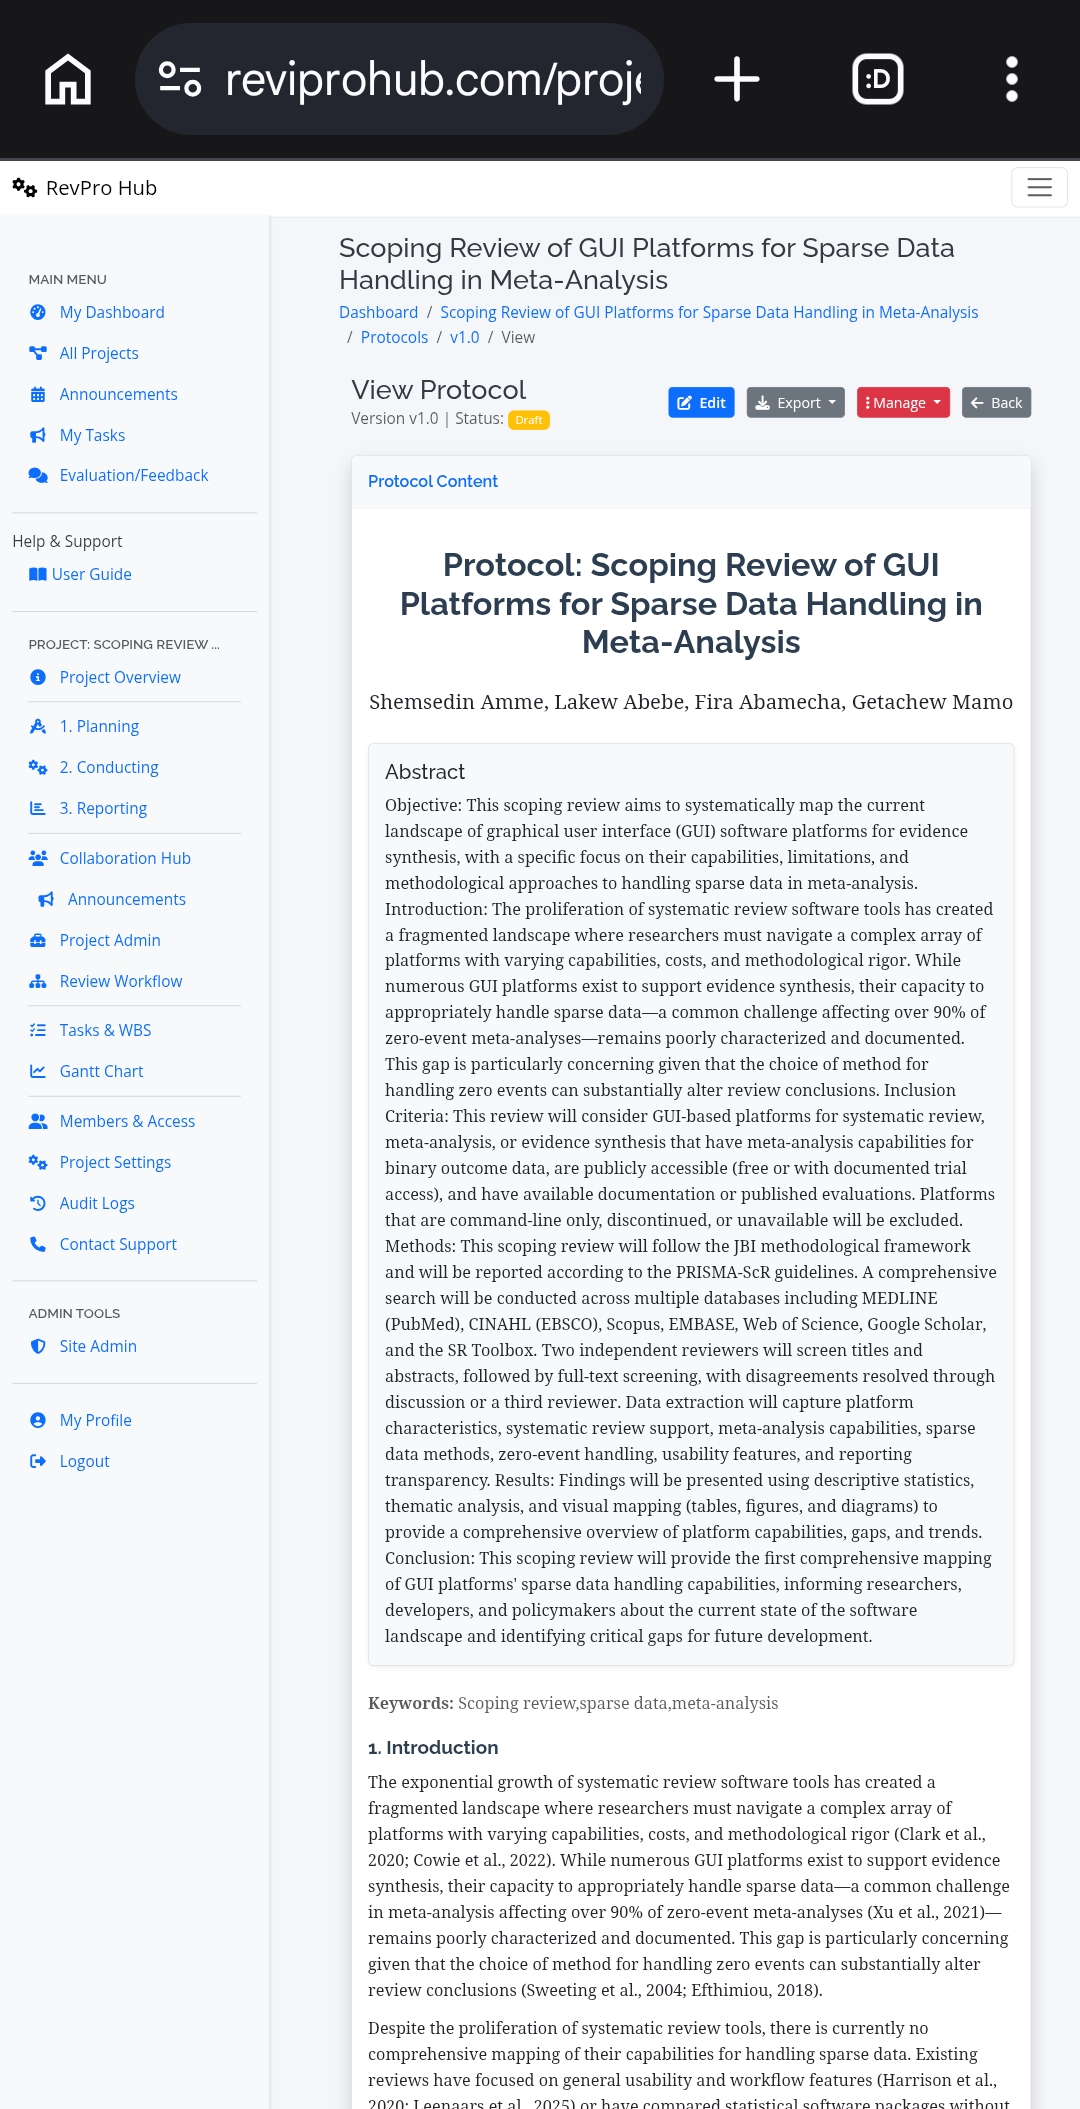
Click “View” on any protocol version. The view page displays: Authors, Abstract, Introduction, Methods, References, Appendices (Search Strategies & Review Questions). The right panel shows Version, Status (Draft/Published), Created/Last Updated metadata, and export options.
3.2 Eligibility Criteria & Research Questions
Access via Planning Phase Dashboard → Questions & Eligibility Framework. This area is critical because it feeds the AI Search Builder, the screening interface, and your protocol.
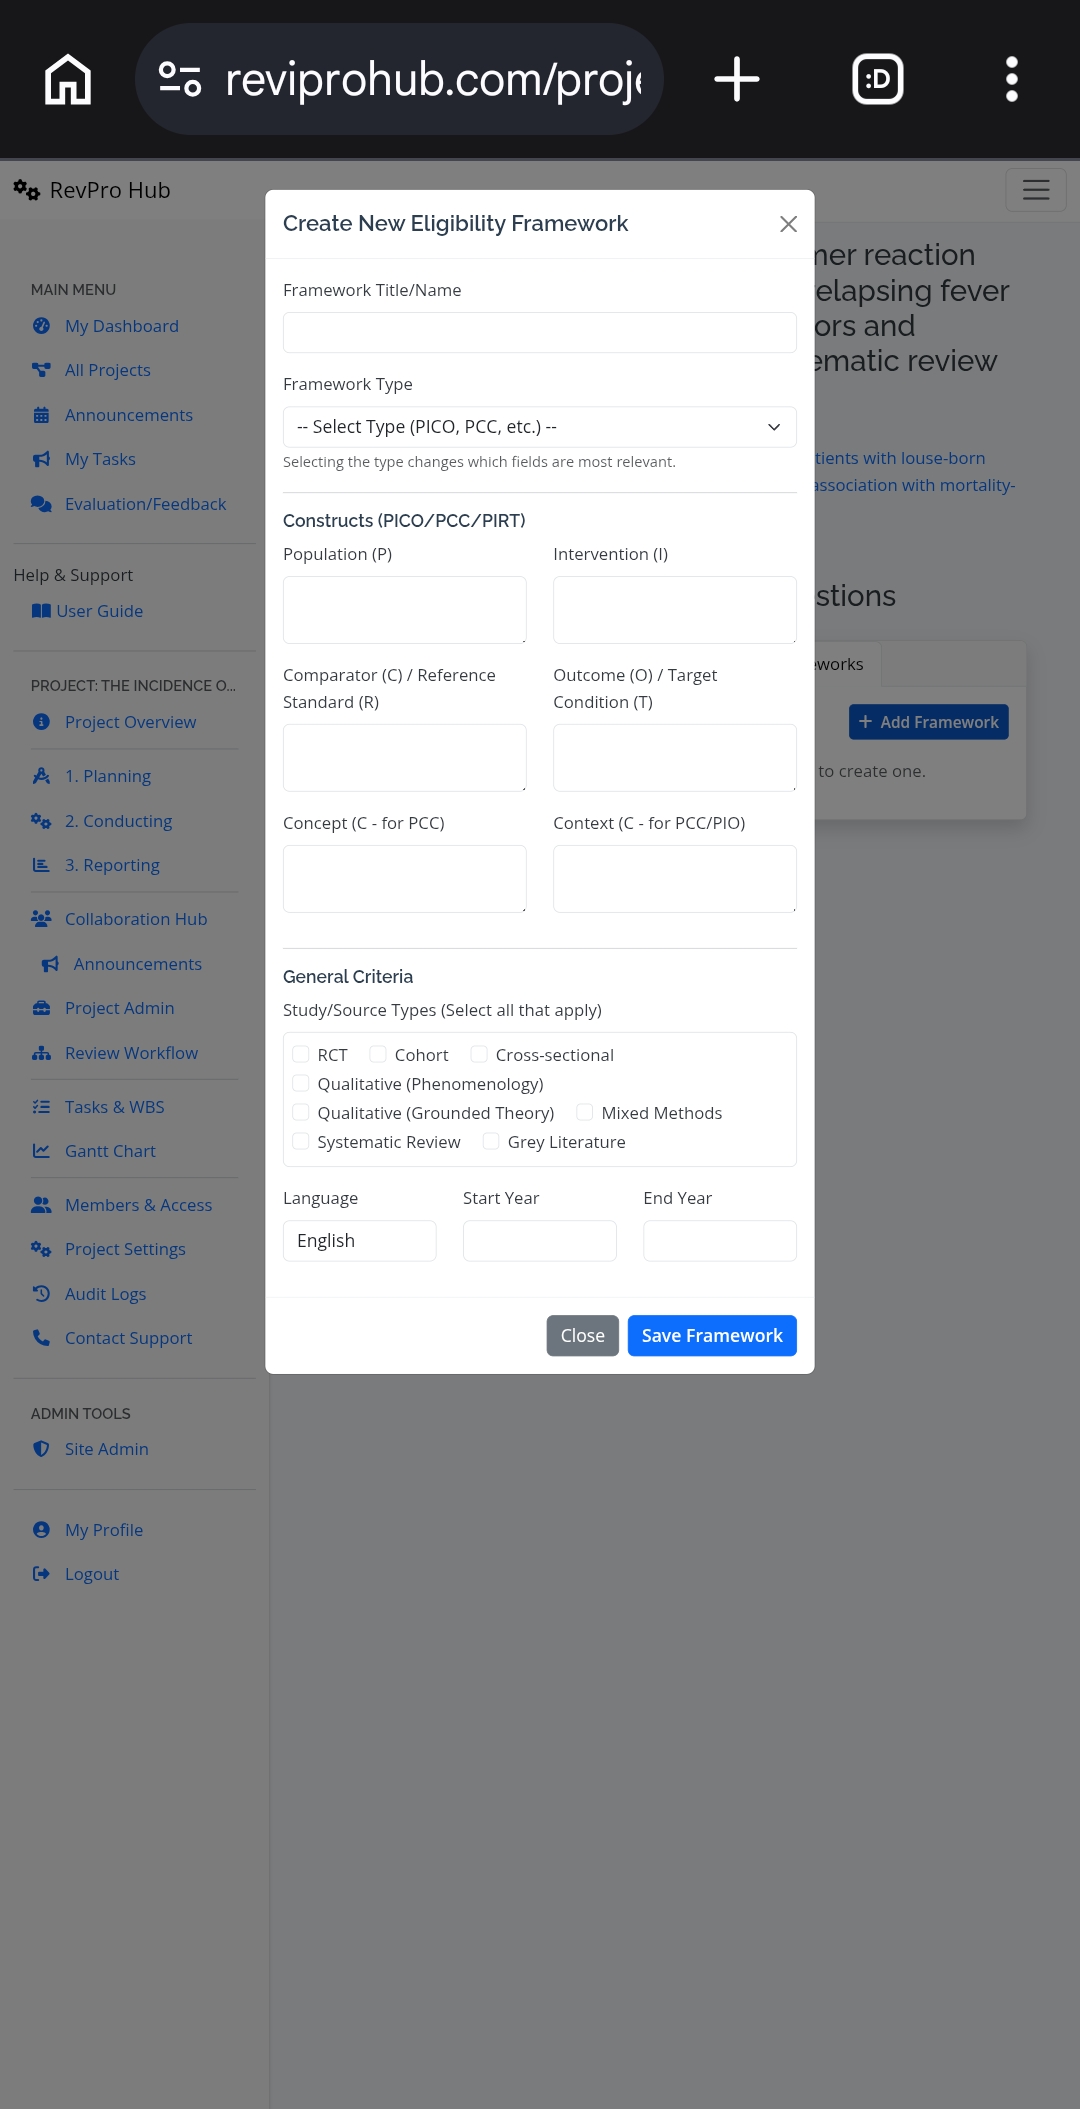
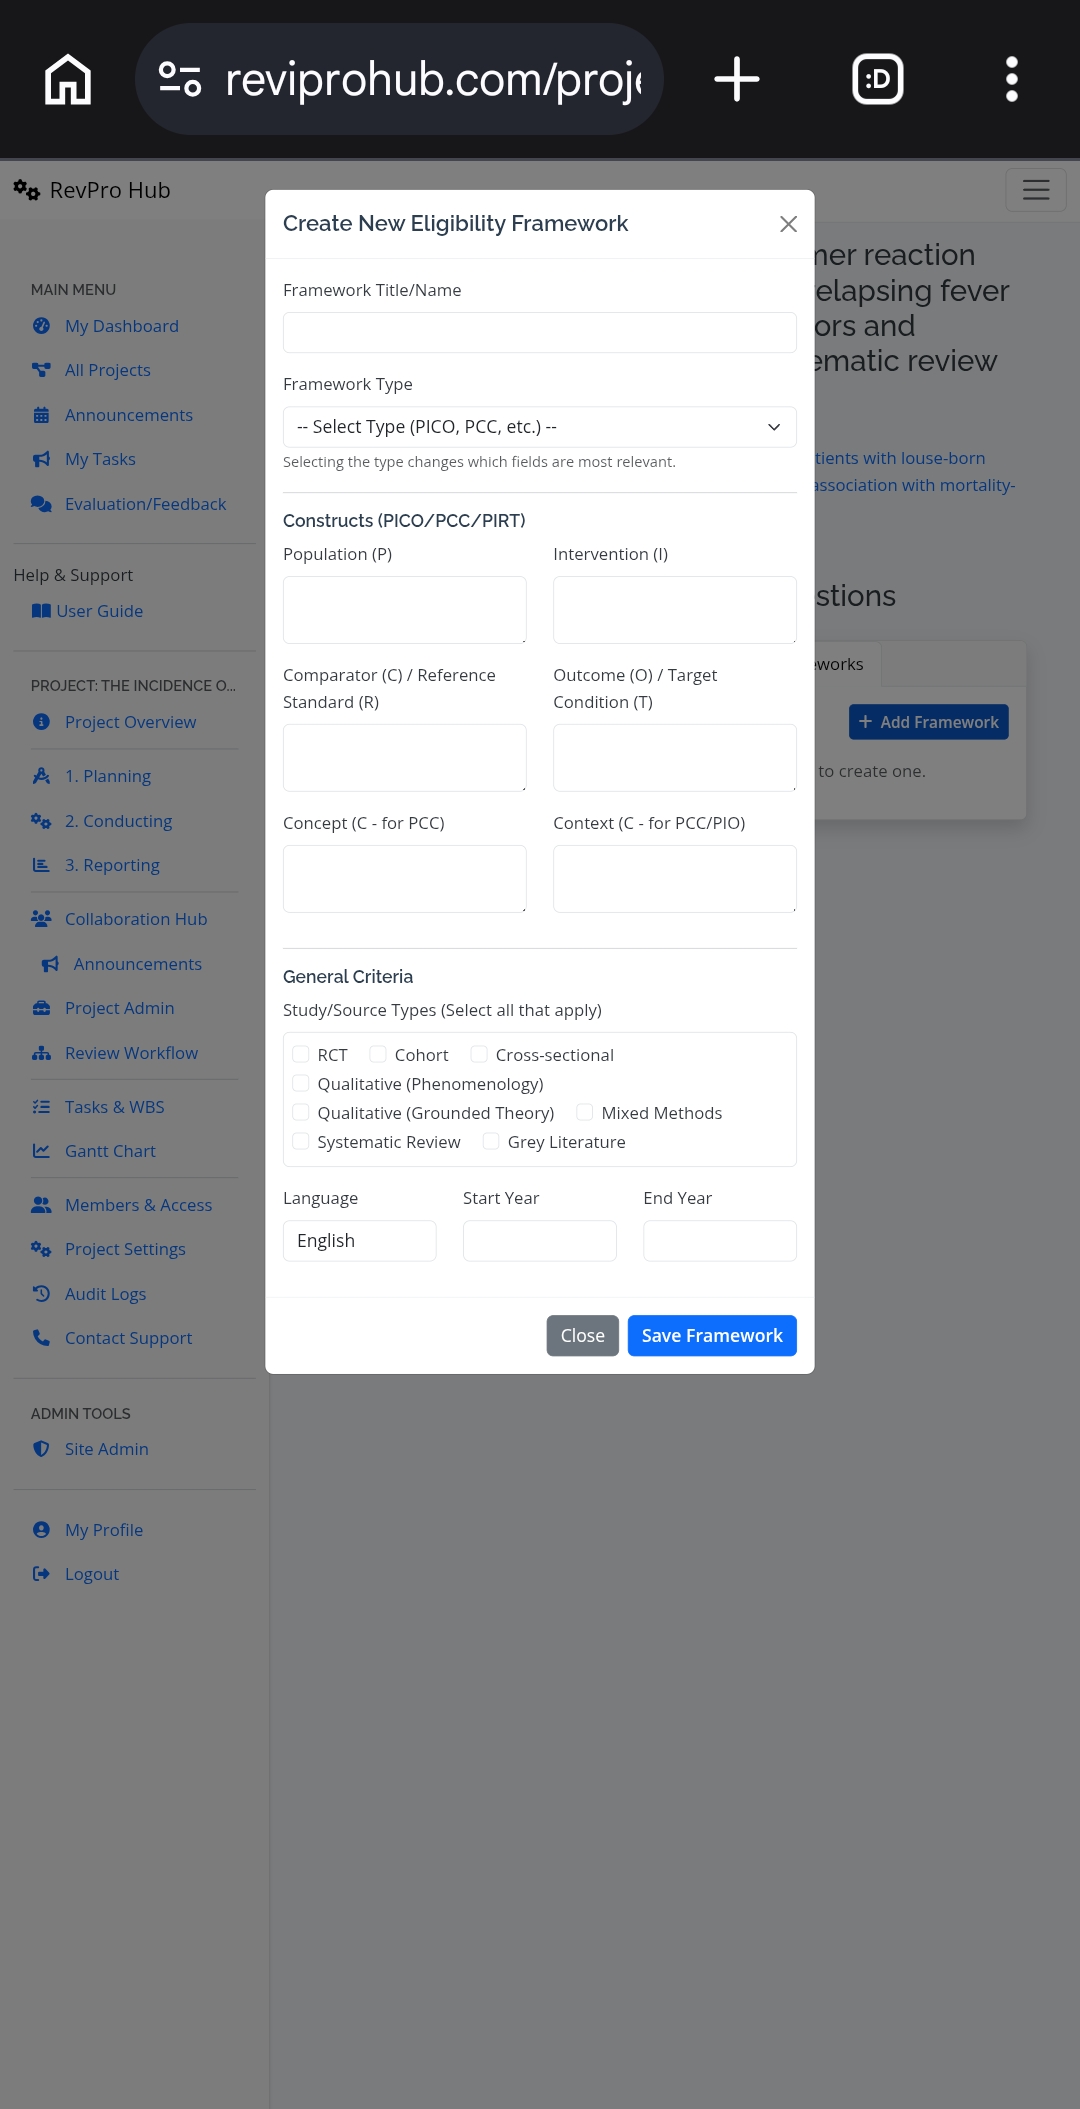
A) Defining Eligibility Criteria & Frameworks
Steps:
Once saved, the dashboard displays the framework details, e.g.:
[PICO] Population: Patients | Intervention: Beta agonist | Comparator: Standard care | Outcome: Weight reduction
Study Types: RCT, Cross-sectional | Language: English | Years: 2015-2025.
B) Research Questions (Main & Sub‑questions)
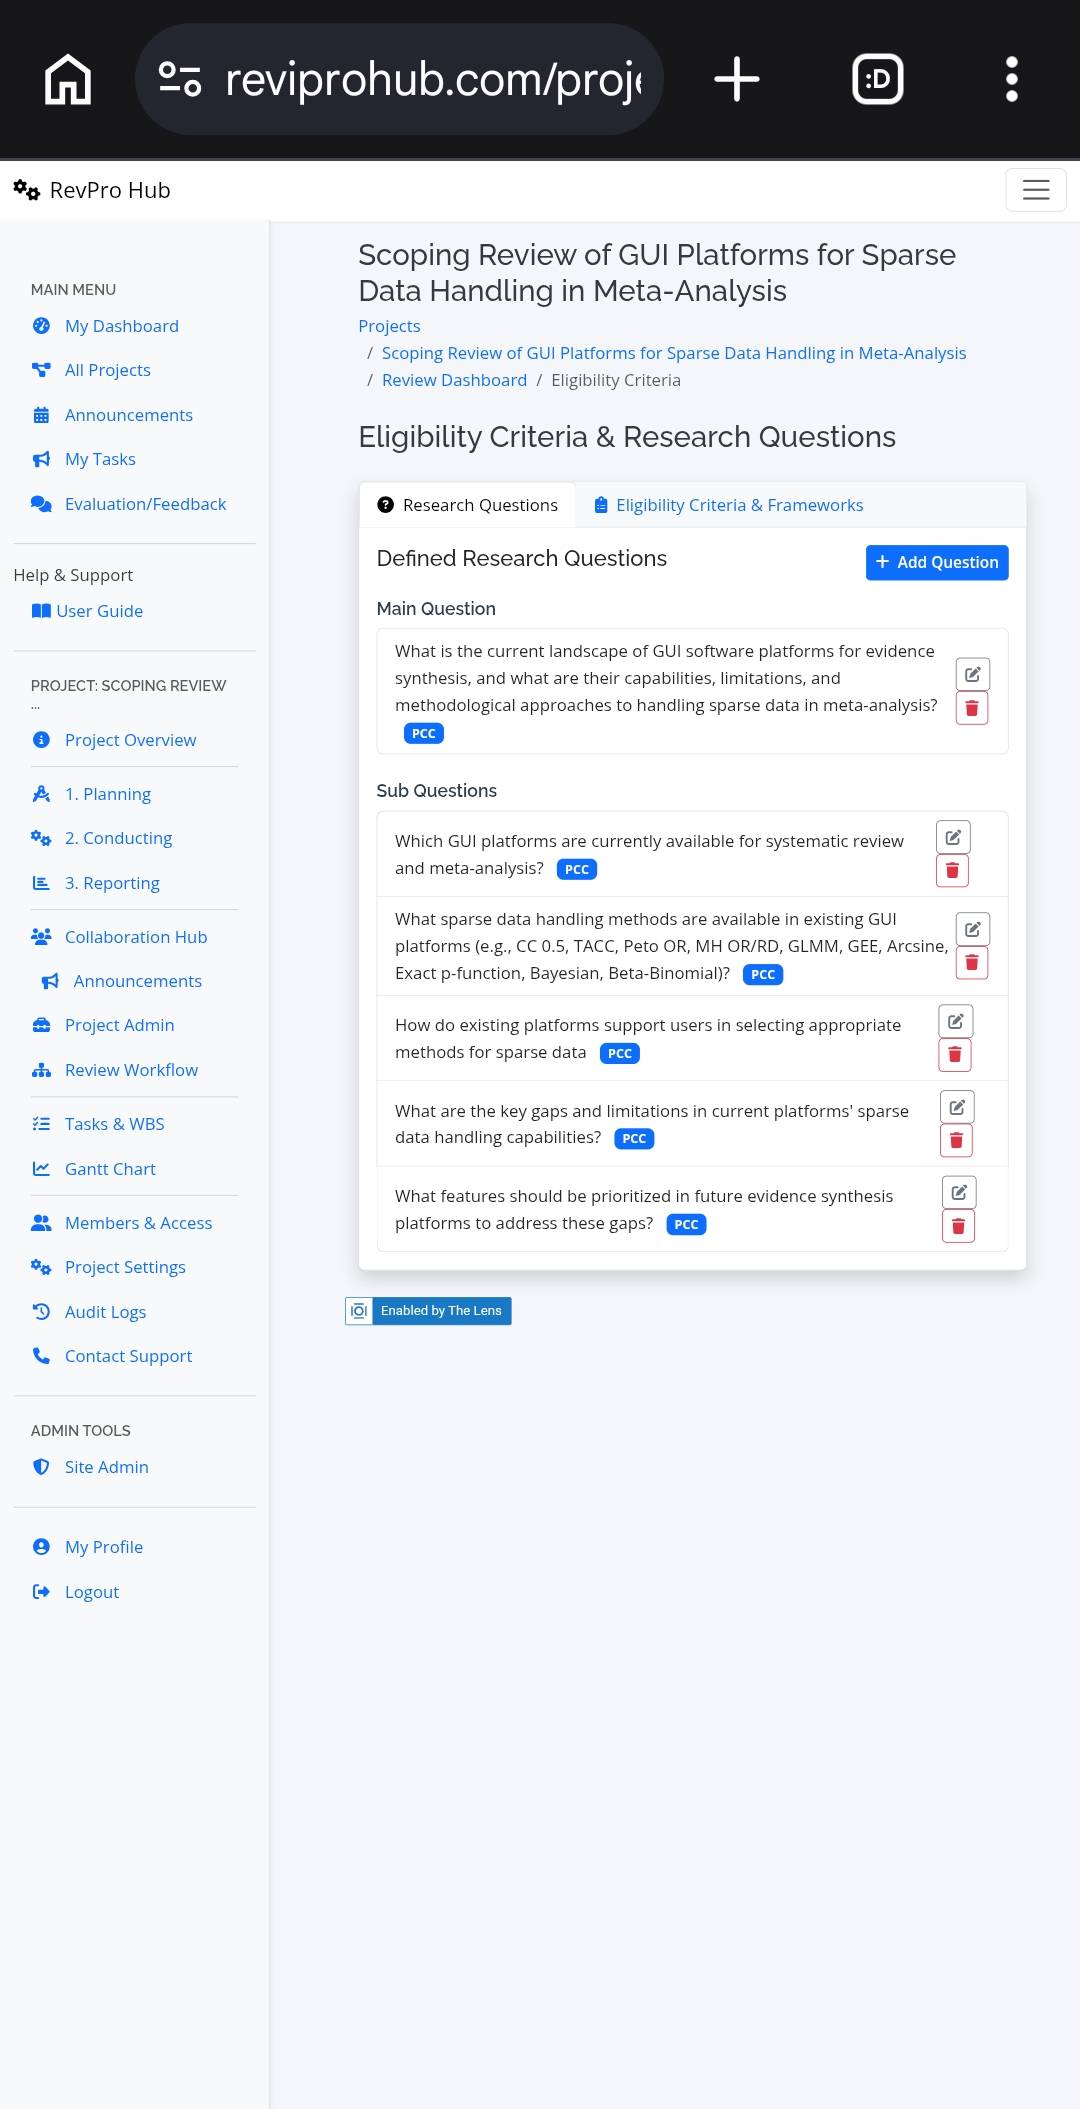
Switch to the “Research Questions” tab. This module links directly to the framework you just created.
After creation, the main question appears with the linked framework, and sub‑questions can be added similarly.
- Access Planning Dashboard: Open your previously created project (e.g., “[Your Name] Pilot Review”) → click on Planning from the project overview.
- Explore stats cards: Identify Protocol Status, number of QA/Extraction forms, and study counts.
- Define an Eligibility Framework: Go to “Research Questions & Eligibility” → Add Framework. Use a simple PICO based on your topic (e.g., Population: pregnant women; Intervention: nutrition education; Comparator: standard care; Outcome: birth weight). Save it.
- Create a Main Research Question: Switch to “Research Questions” tab → Add Question → select Main, write a question, link to the framework you just created.
- Protocol auto‑injection verification: Navigate to Planning → Protocol Dashboard → open your protocol (or create a draft protocol if not yet). See how the research question and PICO table are automatically displayed inside the protocol editor.
- Export protocol draft: Inside the protocol editor click “Export” → download PDF to see how the eligibility content appears in the appendices.
Debrief & reflection:
- Why is it important to link research questions with an eligibility framework?
- How does the auto‑injection of frameworks into protocol save time and reduce errors?
- What additional information in the “General Criteria” (Study types, year limits) helps downstream screening?
Tool Planning: QA & Extraction Forms (Preview)
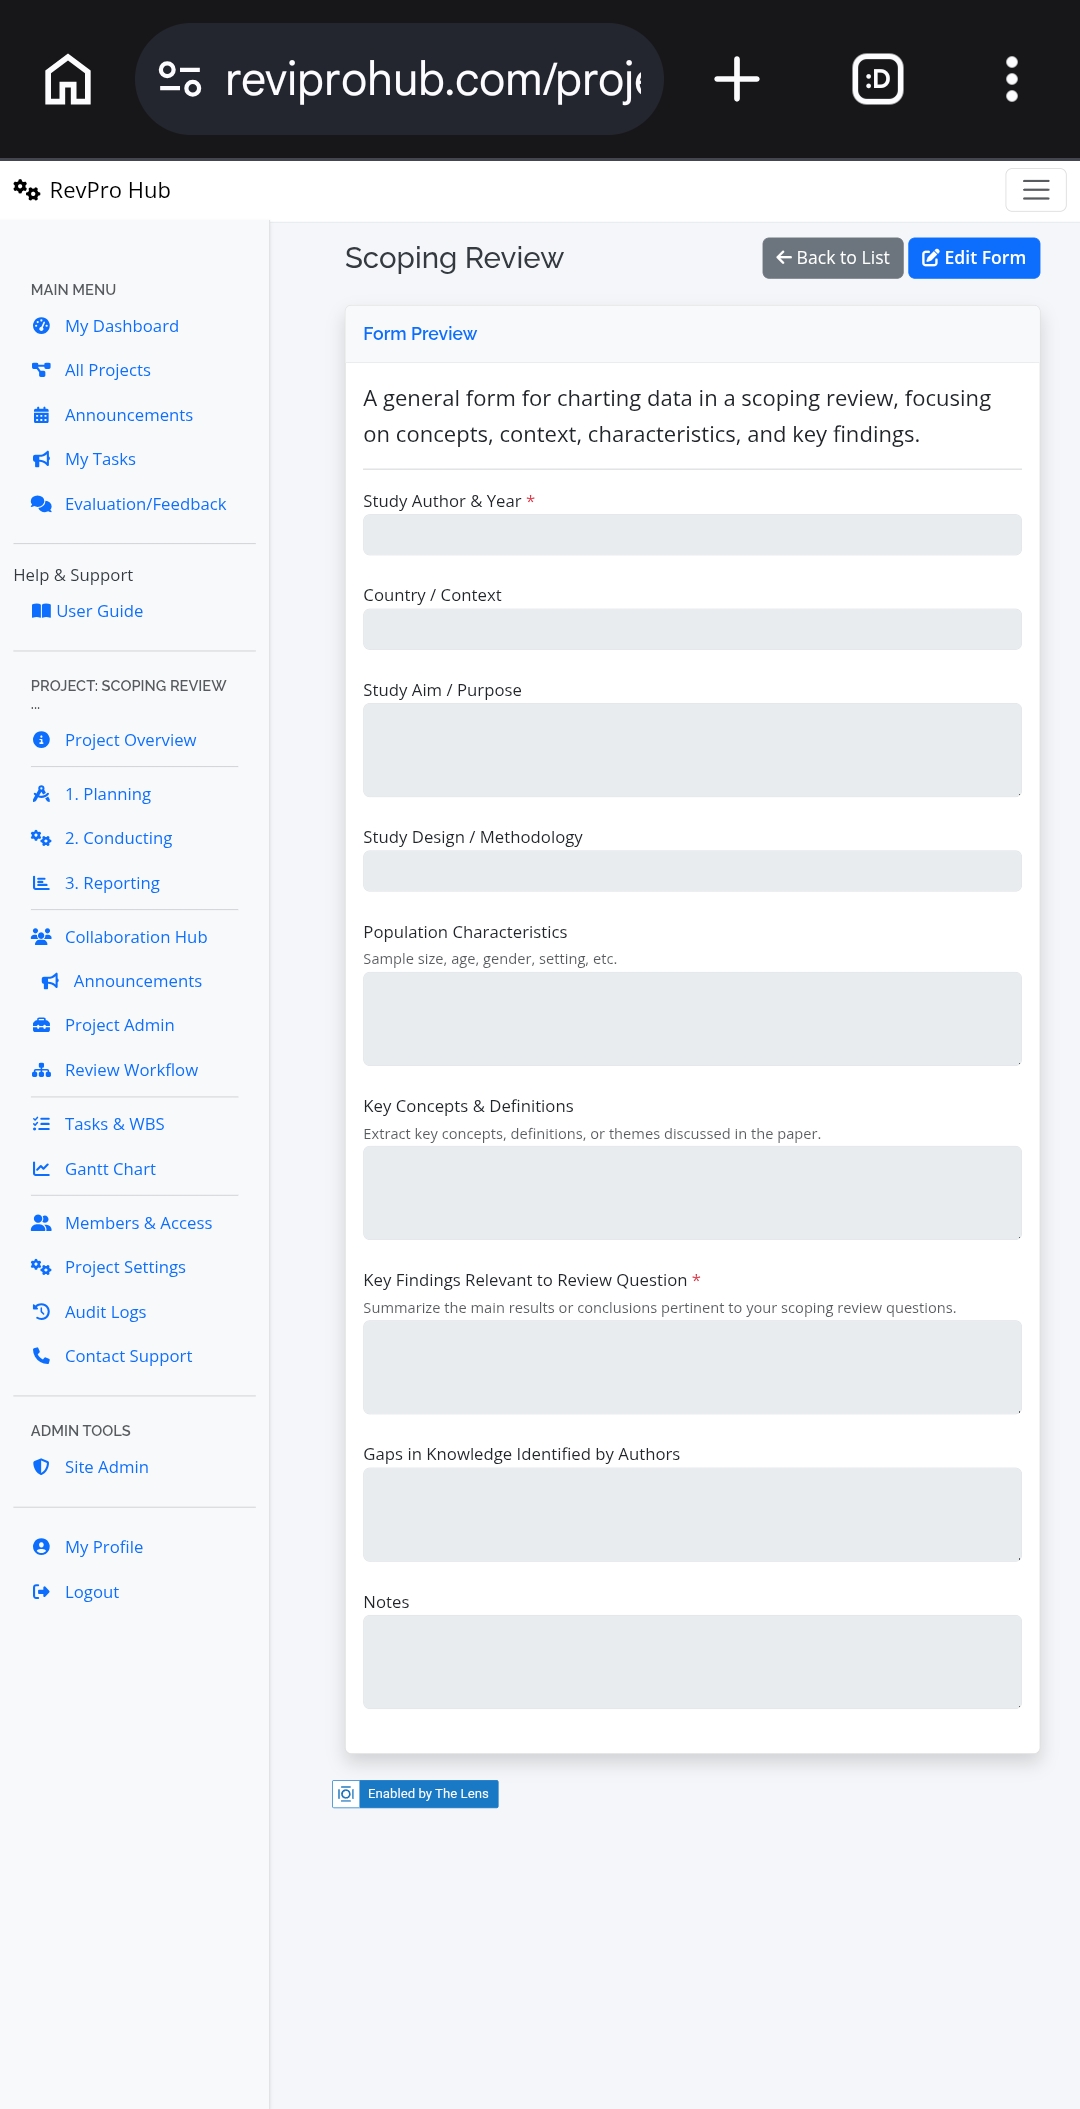
Within the Planning phase, you can design custom Quality Appraisal Forms (RoB 2, Newcastle-Ottawa, or JBI checklists) and Data Extraction Forms. For qualitative syntheses, use the Repeater Field (1‑to‑Many) to allow multiple findings per study – essential for meta‑aggregation.
✔ Protocol created with versioning and auto‑injected eligibility criteria.
✔ Eligibility frameworks (PICO/PICo) defined and linked to research questions.
✔ Understanding that frameworks drive AI search builder, screening interface, and final manuscript.
✔ Awareness of extraction form repeater logic for complex qualitative data.
Once the Planning Phase is complete, the project is ready to move into Conducting (screening, appraisal, extraction), where the defined criteria and forms will guide every decision.
Next session: Search & Query Management – using AI chat to translate PICO into validated search strings across 10+ databases.